Monday, January 28, 2019

Basic Tools for Mound and Plate Maintenance

The tools listed below are the basics needed for mound and plate clay maintenance. 


1. A pump up hand sprayer for wetting down both the existing and the new clay
2. A garden weasel. Great for working in new clay. (This tool is also great for overseeding small areas)
3. A hula hoe for shaving down any high spots
4. A hand tamp wrapped to prevent clay from sticking to the bottom. - HERE is another way to wrap a tamp
5. A tine rake to also assist in shaving down high spots. HERE is a great trick to sharpen a tine rake
6. 36 inch landscape rake. This is a workhorse of baseball/softball field maintenance. This tool will assist in leveling and smoothing both infield mixes, mound clays and conditioners
7. Blackstick Mound Clay. A great gumbo clay for high traffic areas. 

** A couple of other critical tools not pictured are a broom and scoop shovel. Click HERE to see a step by step description on repairing a plate area. 


Go to j-dturf.com to learn more about J&D Turf.  Go to advancedturf.com to learn more about Advanced Turf Solutions.

Play on!
—Jamie

@JamieMehringer

Tuesday, January 15, 2019

#LifeOnTheRoad - Windscreen Under Bleachers

This is another post in a periodic series entitled #LifeOnTheRoad.  The background is simple. During my travels I  encounter many grounds managers/coaches doing great things.  Because of this, I have started this series.  The goal - expose more grounds managers, coaches, architects, etc to areas of facility and sports turf maintenance that may be implemented to their facility/design.

A quick photo from the Shelbyville (IN) High School football field. A couple simple windscreens with the school mascot can really make an area under the bleachers pop!  


Contact your ATS/J&D Turf rep for your windscreen needs. 

Go to j-dturf.com to learn more about J&D Turf.

Play on!
--Jamie
@JamieMehringer

Friday, January 11, 2019

The #SmartTurf Blog is Back

The #SmartTurf Blog is Back

Welcome back to the #SmartTurf Blog. 2018 was a period of great growth and change within both J&D Turf and Advanced Turf Solutions (ATS). J&D Turf is the maintenance, construction and consulting arm of ATS. ATS is the sports turf distribution arm providing product, equipment and accessories to the sports turf market with unparalleled service. 

Looking for service work or products?  Call a member of the ATS Sports Turf Sales team to offer assistance. 

So 2019 brings the relaunch of the SmartTurf Blog. You will still see educational content and how-to information. Also, you will continue to see the popular “LifeOnTheRoad” series. New this year will topical sports turf news stories and guest bloggers from both the ATS Sports Turf Sales team and sports turf managers in the industry. Here’s to a great 2019 and sharing ideas on the SmartTurf Blog. 

Go to j-dturf.com to learn more about J&D Turf.
  
Play on!
—Jamie
@JamieMehringer

Thursday, August 30, 2018

Lafayette Central Catholic - Sand Channel Drainage – Spartan Sand Cap – A Case Study #4 – In Season Play


Practice began on the new surface on August 1, 2017.  The first game took place on August 18, 2017.  The surface had a shear strength in excess of 30 ft lbs.  We knew it would play well, but even our team was surprised by the results.


Here is the field in mid September after 10 events.


Per the plan, the surface was overseeded with Barenbrug HGT Bluegrass in early September with a goal of creating a “Bluemuda” playing surface.  A small amount of ryegrass was added for additional color.  Here is what the soccer goal area looked like after the soccer season.


Here is a recap of the grow-in.


The playing surface hosted 50 events (games and practices) from August 1 – Nov 1, 2017.  Why was it successful?

1.      The new surface had a good surface grade.
2.     The new drainage system provided a “rain out proof” playing surface, thus there was never a rain game to tear up the surface.
3.     A blend of warm season and cool season turf provided superior shear strength and wear tolerance to extreme play.

In conclusion, a $130,000 investment provided a rain out proof surface that hosted 50 games and practices in fall 2017.  Quite the return on the investment. 

Go to j-dturf.com to learn more about J&D Turf.

Play on!
--Jamie
@JamieMehringer


-->

Thursday, August 16, 2018

Lafayette Central Catholic - Sand Channel Drainage – Spartan Sand Cap – A Case Study #3 – Grow In


Following the drainage install, it was time to grass and grow in the playing surface.  A granular Ronstar application was made prior to Northbridge bermudagrass sprig installation by Grassmaster Turf Farm on June 7, 2017.  Opening Day was approx 8 weeks away.


Following sprig installation, a heavy watering cycle took place for 14 days.  After the sprigs began to green up the surface was placed on an aggressive grow in program consisting of Foliar-Pak Grow In and Ammonium Sulfate.  Weekly applications were made and the field was mowed 3 times per week at a 7/8 inch cutting height.


June 7, 2017 at Sprigging


June 17, 2017


June 20, 2017


 July 5, 2017
 August 8, 2017


The playing surface as of August 8, 2017 was perfect.  The next question was “How well will it play?”


Go to j-dturf.com to learn more about J&D Turf.


Play on!

--Jamie

@JamieMehringer
-->

Monday, July 30, 2018

Lafayette Central Catholic – Sand Channel Drainage – Spartan Sand Cap – A Case Study #2 – Renovation Process


After the decision was made to install sand trenches and create a 2 inch sand cap, it was time to go to work.

The existing bluegrass/ryegrass/tall fescue surface was sprayed with Glyphosate in mid april and early May to ensure complete kill/control of the undesired playing surface.  Next, the surface was fraze mowed and recycled.


New irrigation laterals and heads were installed.


Finally, in late May, the drainage was installed on 14 ft centers and tied into existing perimeter drainage.


So, the heavy lifting was complete, now it was time to install the 2 inch cap of USGA rootzone sand, sprig with Northbridge bermudagrass and begin the grow-in.

Go to j-dturf.com to learn more about J&D Turf.

Play on!
--Jamie
@JamieMehringer

Friday, July 27, 2018

Lafayette Central Catholic – Sand Channel Drainage – Spartan Sand Cap - Case Study #1

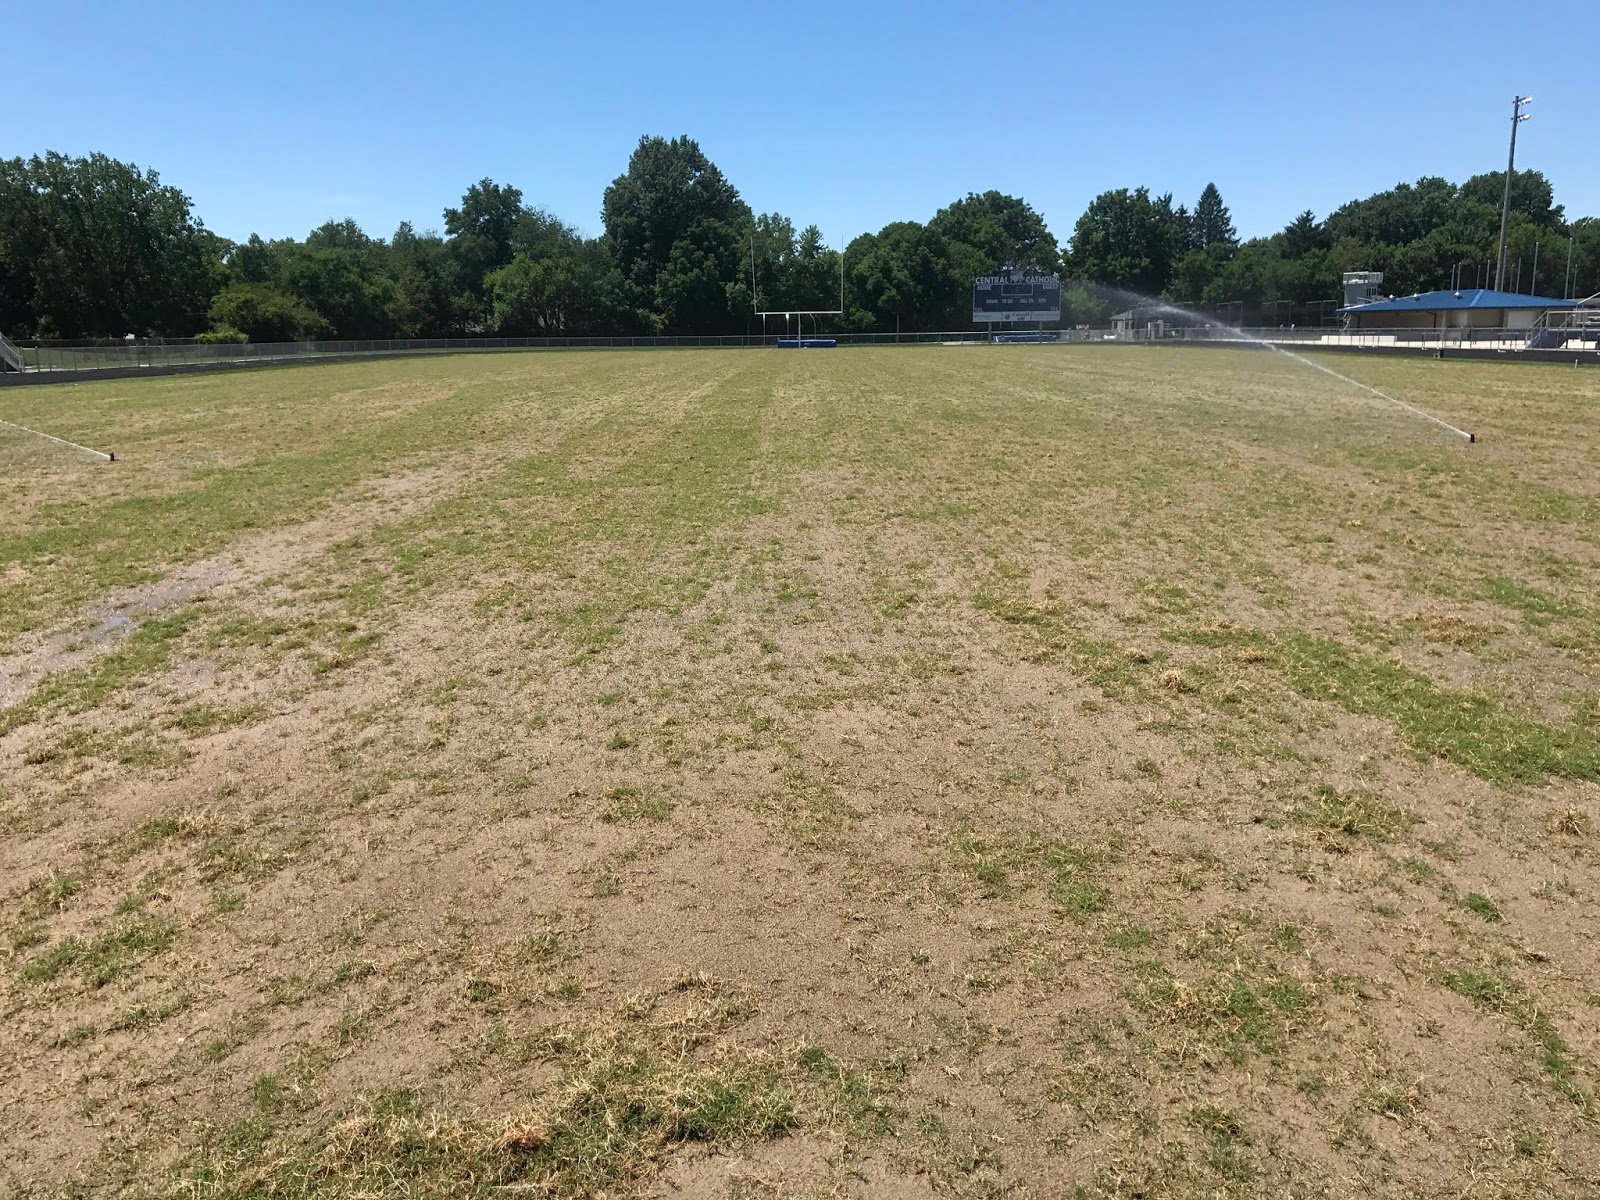
Lafayette Central Catholic High School in Lafayette, Indiana have very successful soccer and football programs.  As a school in an urban environment, space is at a premium.  The school approached the J&D Turf team over the winter of 2016-2017 to discuss options for the stadium playing surface.  Approximately half of the facilities committee was leaning towards synthetic turf, while the other half was leaning towards maintaining a natural grass surface.  The existing playing surface was in poor condition and had no drainage.

 Let’s take a detailed look at how the determination was made to proceed with the means and method that worked for all parties.

“If you don’t know what you have, how do you know how to fix it?”  The first step was to pull undisturbed core samples and send to Turf and Soil Diagnostics.


Recommendations:

The report/data showed vertical drainage (infiltration) at .02 inches per hour.  After the results were discussed, 7 different playing surface options were presented.

  1.    Native Soil – Re-grass over the existing rootzone and maintain at .02 inch per hour infiltration rate (Approx Cost - $10,000)
  2.     Topdressed Sad Cap – No internal drainage, create a 2 inch cap as soon as possible (Approx Cost - $30,000)
  3.     Sand Channel “Spartan Sand Cap” – Install sand trenches 14 ft on center and backfill with a 2 inch drain tile and pea gravel and USGA rootzone sand.  Then install a 2 inch column of sand prior to sprigging. (Approx Cost - $140,000)
  4.     USGA “Sand Cap” Rootzone – Install a 6 inch deep USGA rootzone over a compacted sub base. (Approx Cost - $300,000)
  5.     USGA Rootzone – After installation of 4 inch drain tiles in the sub base, install a 10 inch column of USGA rootzone over a 4 inch column of pea gravel (Approx Cost - $600,000)
  6.     USGA Rootzone with Stabilized Turf – Same construction as #5, but install the turfgrass that is stabilized with synthetic fibers (Approx Cost - $800,000)
  7.    Synthetic Turf – Infilled synthetic turf (Approx Cost $750,000-$1,000,000)

The Decision:

The feedback was consistent from the 2 camps
  1.      I didn’t realize there are options for natural grass.  “I thought it was what we have or synthetic turf.” 
  2.      We play over 60 games/practices in 3 months, this field will be bare soil by the end of the year.  We need synthetic turf.

After many discussions and meetings, the decision was made to renovate the existing surface and install sand trenches 14 ft on center and create a 2 inch sand cap before sprigging Northbridge bermudagrass.  So, option # 3.  Cost of work including grow-in $140,000.  Learn how it turned out in the following posts.

Go to j-dturf.com to learn more about J&D Turf.

Play on!
--Jamie

@JamieMehringer